_1.webp)
Who can use this feature?
🗣️ All researchers (both admins and users)
⭐ Recommended for all User Interviews plans
For many companies, research is a team sport.
If your research team has multiple people on it—or if you regularly collaborate with other types of research stakeholders—then the ability to add and manage collaborators on projects is an ideal feature within User Interviews.
On any User Interviews plan, you can invite an unlimited number of collaborators to any recruiting project. They don’t need to be in your company, and you can control permissions for each collaborator to ensure everyone has as much—or as little—access as they need.
In this article, you’ll learn:
- The different levels of permissions associated with different types of collaborators
- How to add and manage collaborators to a project
- How to set and manage session attendance for different collaborators
Project permissions for different types of collaborators
Below is an outline of the permissions associated with different types of collaborator access.
Project owners can:
- Sync their Outlook or Google calendars to the project
- Add, remove, and manage project collaborators
- Revise editable areas of a project (including emails, schedules, and incentives)
- Approve and reject candidates
- Send and reply to messages
- Receive all email notifications and project alerts
- View the "Billing" section and download an invoice/receipt once the project closes
- Receive automated receipts and invoices after a project ends
- Download participant data from the project
Collaborators with edit access can:
- Sync their Outlook or Google calendars to the project. If the whole team uses Google calendars, you can take advantage of our group auto-scheduling feature
- Leave comments or suggestions on draft projects
- Edit all editable fields (e.g., confirmation email, project description, screener, session availability)
- Approve and reject candidates
- Send and reply to messages
- Receive all email notifications re: project alerts
- Download participant data from the project
Collaborators with view access can:
- View project details, candidates, messages, and session availability
- Download participant data from the project
✍️ Important note for Research Hub studies: Colleagues who have the same email domain will automatically have view access to your projects. Collaborators with View and Edit access will not be able to invite participants to a Hub Project.
How to add collaborators to a project
🤝 Add collaborators to a project
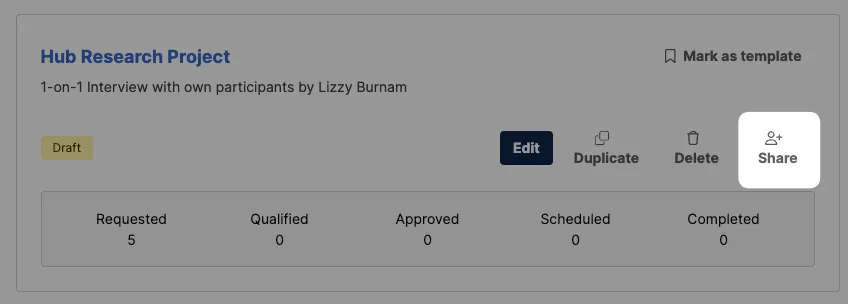
1. Find the project you want to add collaborators to. In your projects list, click the “share” button. Or, open the project and click the collaborator button at the top right of the project.
2. Enter the email address of the collaborator and choose their permission level.
3. Click “send invitation” to send an email to that person. They must accept the invitation by clicking the link in their email.
There are 2 places you can add collaborators to a project. One is using the “Share” button on the project in your main projects list.
The other way to add collaborators is by opening the project and clicking the collaborator icon in the top right corner.

Until your collaborator is verified, they will be listed as "Pending" under the Manage Permissions section. If the collaborator does not have an existing account with User Interviews, they will be asked to create an account. If they are an existing user of User Interviews, they will be asked to sign in.
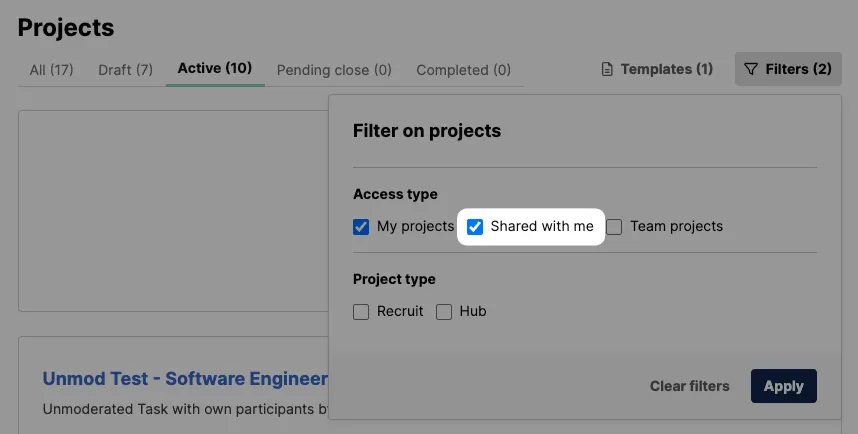
Collaborators will be able to view projects they are listed as collaborators on from their projects page. Simply click the box "Shared with me" in the filters to view all projects you are collaborating on.
How to set and manage session attendance
On projects with multiple collaborators, you can assign default session attendance for each person to designate who must attend and who is optional. This way, you can find times that work for the team and schedule only those that need to be there.
You can set the following session attendance options:
- Moderator: This person is the moderator of the session and will be invited
- Required: This person's attendance is required (e.g. for note taking) and will be invited
- Optional: This person's attendance is optional but will be included on calendar invites
- Not included: This person isn't expected to come and will not be invited
💌 Set and manage session attendance for collaborators on a project
1. Navigate to Research Design > Research Activity section of your project.
2. Scroll down to the “Scheduling, session attendance, and location” section and click “edit.”
3. Use the dropdowns to set the session attendance for each collaborator (Moderator, Required, Optional, Not included). Note that you can only have one moderator per session.
4. Click “Save”, and UI will automatically use these attendance rules for every confirmed session.
Still have questions? Email projects@userinterviews.com.